

Aug 29, 2023
Just as many of us got used to meeting and facilitating sessions online, we are back in-person. You may be asking yourself: Do I still remember how to do that well? What have I learned in this virtual space that can be applied to the in-person space? What is true for physical spaces that was never true for virtual spaces?
As we return to in-person facilitation, we are reminded of the uniqueness of it. One aspect for renewed and focused attention is room set up.
Consider these 3 goals for intentional room set up:
- Offer a sense of hospitality. Learners feel a sense of safety and inclusion when it’s clear that we’ve made an effort to ensure their comfort. We want them to enter the room and quickly feel at ease.
- Maximize dialogue. Meaning is made in the dialogue between us. As such, I always consider how to set up and facilitate spaces that optimize this.
- Ensure a feeling of belonging. Each learner needs to feel seen and heard, to know their ideas and stories are of value. A sense of belonging is a fundamental human need and contributes to the ‘container’ in which individuals can learn.
Below are tips to consider:
- Prepare in advance. It takes time and intention to plan how to use a space to maximize learning. Before you arrive, make notes on how you’ll set up the space at key points.
- Set up early. It is important to be ready to greet people as they arrive and not be distracted by other things. If you can set up a day in advance or the evening before, even better.
- Clear the space of unnecessary clutter. Extra furniture and debris can get in the way and be a distraction for you and the learners. Ensure a tidy space as much as possible. Move items out of the space, if necessary.
- Decide where “the front” should be. There is usually a choice, and you want to select carefully. The goal is to ensure everyone can see each other and you. Feel free to rearrange the room if you think it will better serve the learning, e.g., I always switch the front in a long narrow room. You may even wish not to have a designated ‘front’ to encourage dialogue between participants.
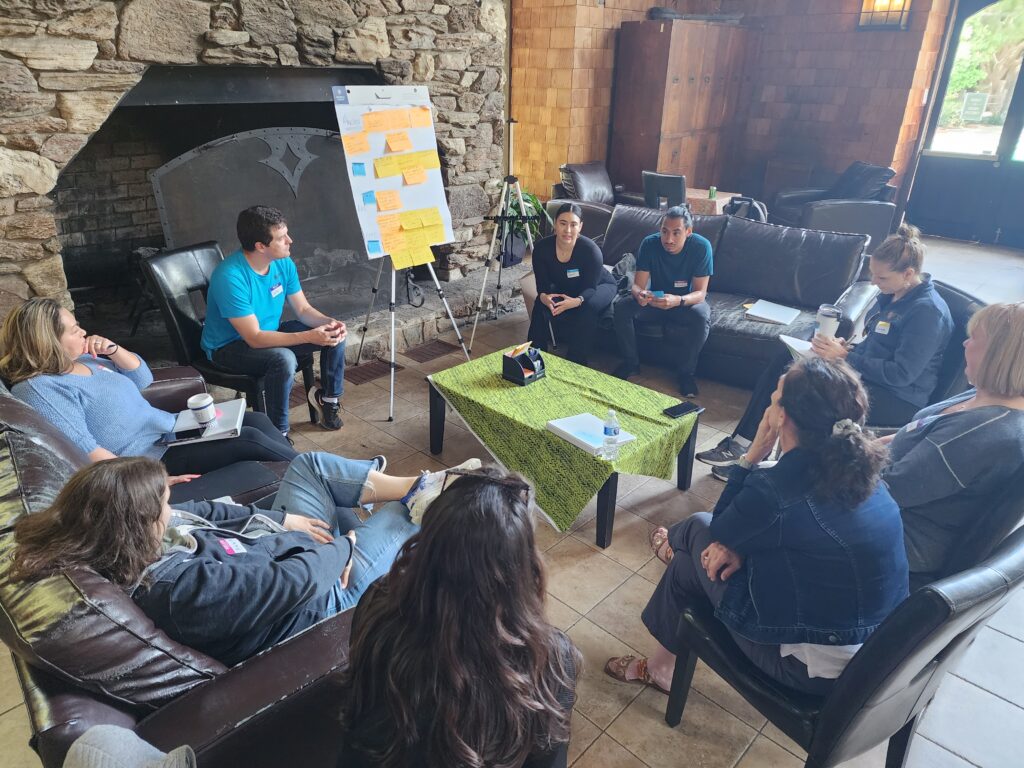
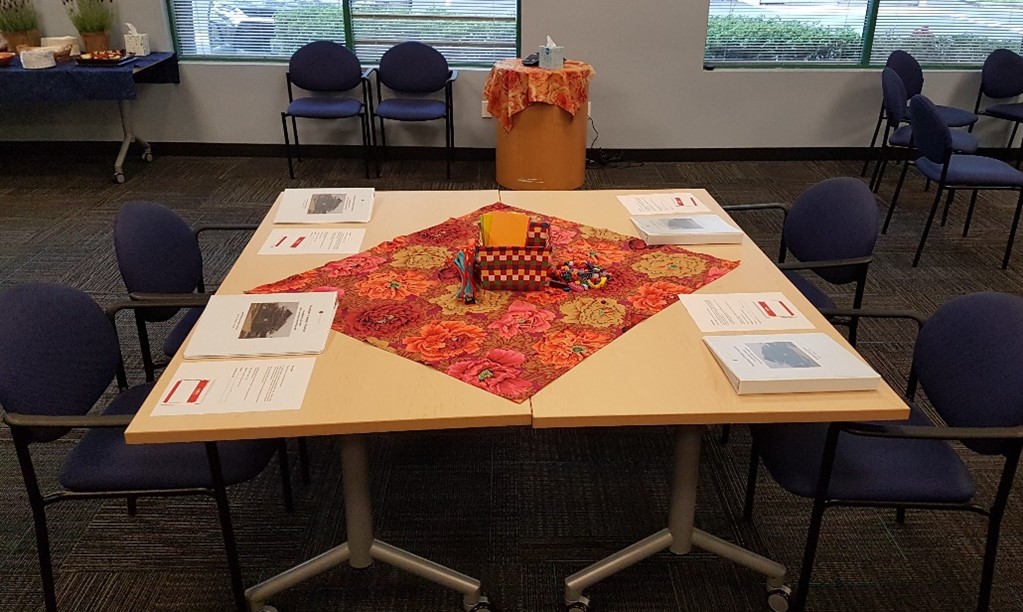
- Arrange table groups. Table groups are ideal for dialogue and focused work. If possible, table groups are always preferred over rows of chairs. However, even if the group is large and everyone needs to sit in rows, this should not discourage you from designing for dialogue between individuals or movement in the room.
- Equip each table with supplies. With dialogue usually comes the need to record thoughts, work or questions. For this reason, each table will need dark markers, Post-it notes, and other notetaking supplies. As well, manipulatives can help some learners remain engaged and focused. In a multi-day event, candy and chocolate can also help with energy levels. Create a materials list and don’t forget to give yourself time to shop.
- Set up a circle of chairs. Beginning and ending in a circle – especially in a multi-day event – can be especially powerful. Opening and closing in this way can help re-connect people around their reason for being together. It invites vulnerability and personal sharing that sitting at tables doesn’t.
- Ensure there is a clock. Keeping track of time is the responsibility of the facilitators. Although you need to stay flexible for meaningful dialogue, you also need to ensure you offer the entire learning experience. If you’re facilitating solo, it may be helpful to assign a timekeeper to help you stay on track.
- Use multiple flip chart stands. Although you may only use one flip chart and stand yourself, having a stand at each table can be helpful for group work. This is especially true if there is little free space on tables. As well, flip chart stands can offer group work around the room, in the hall or elsewhere. Moving flip chart stands side-by-side for the full group debrief can also be helpful when wall space is limited.
What is important to you in your room setup?
Jeanette Romkema is GLP Senior Consultant, Network Director and Co-owner. Read more blogs by Jeanette.
Meg Logue is the GLP Product Design Manager. Read more blogs by Meg.
Here are other GLP blogs you may be interested in: