

Feb 18, 2026
You may think there is not much to say about tape, but I beg to differ. In fact, over the years I have learned and experimented a great deal with this lovely office supply. In fact, when Covid took hold of the world and pushed most of us online, one thing I really missed was my roll of tape!
So, here’s the scope on tape.
TYPES OF TAPE
For me the best type of tape is 1” wide painters’ tape. 1” gives plenty of surface area to hold paper on the wall. Painters’ tape offers a sticky surface without the risk of damaging your wall when you pull it off. Usually, you will find this tape in blue and green colours, which makes it extra fun!
WAYS TO POST
- Loop tape to the back of each visual. Although you are free to pre-stick small rolls of tape to the back of visuals readying it on a near by table, I rarely use this method. If you have multiple visuals, you have to spread them carefully across a table to ensure they don’t stick to each other. As well, there is no way of seeing the text on the printed pieces of your visual which can make it challenging to pick up the right pieces. NOTE: it can be helpful to paste temporarily to the back of your flip chart stand for easy access and easy viewing of what is what. You can grab each visual as you need it from there.
- Loop tape onto the flip chart you will be working on. This is my go-to way to teach a new piece of content without being slowed down to apply tape in the moment or worry pieces will stick together on the table as I reach out to use them. Preparing (in advance) loops of tape to a flip chart in the places you know you need them, and then push each piece of your visual onto the tape as you present. This method offers an easy flow without needing to turn your back to your group for more than a moment. NOTE: once you prep a flip chart paper with tape, you cannot flip it over or put another paper on top of it. That is certain to give you a sticky mess.
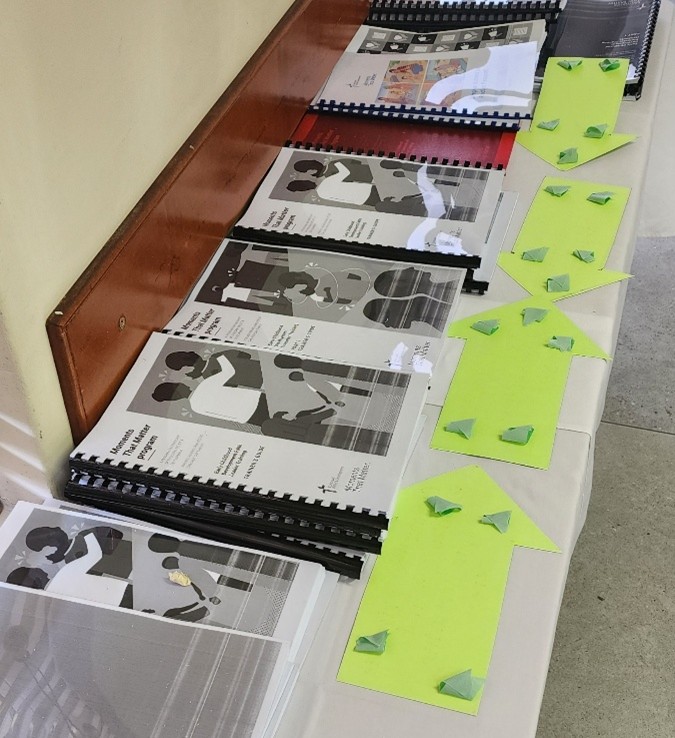
- Stripes of tape to the bottom of your visuals. This makes for a fun reveal and is great for multiple pieces of complex content when you need more space than one flip chart paper. It is a bit tricky to set up, and you definitely need time for the prep. However, this is one of the best uses of tape to present content I know. NOTE: Since you are working with multiple pieces of a visual, it is helpful to find a way to ensure you work in a straight line. As well, colors matter and you will want to plan which pieces to print on which colors.
TIPS FOR SUCCESS
- Carry your roll of tape around your wrist. You may not want to wear this ‘bracelet’ outside the training space, but it is a great way to always have it close when you are facilitating.
- Fold the end over for easy access. When you need to quickly post something, you don’t want to stand in front of a group struggling to find the end of your roll of tape. For longer term storage, it can also be helpful to fold the end over a paper clip.
- Keep it short. Usually, there is no need to tear off more than 2 inches (5 cm) of tape to roll into a loop for the back of a visual. Multiple small pieces is always more effective than an extra long loop, which has the tendency to droop over time.
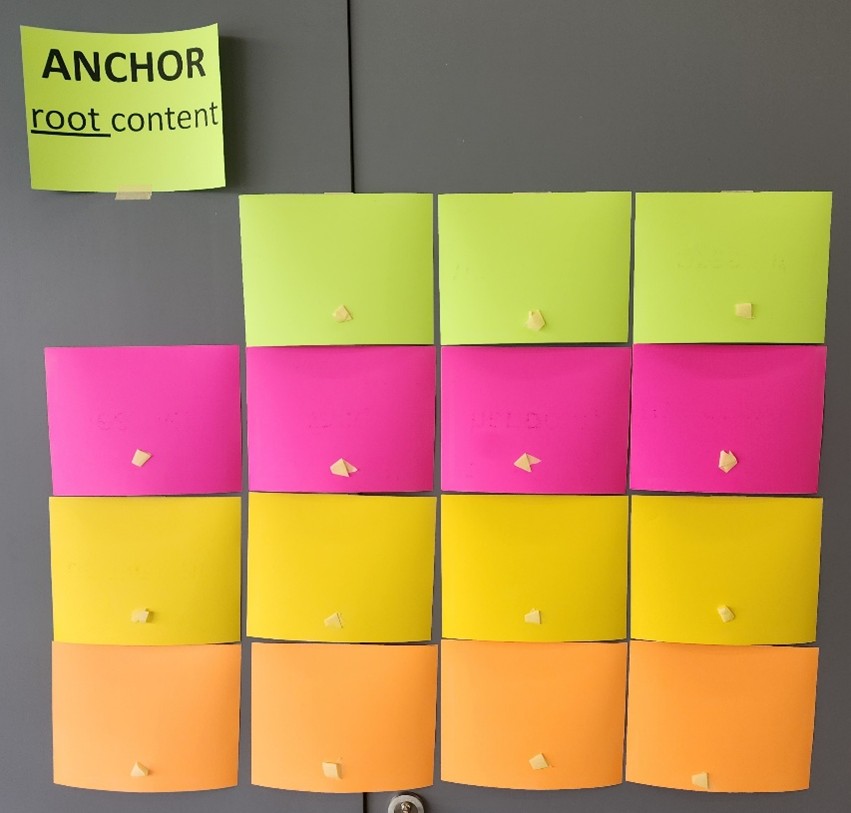
- Pre-tape loops of tape on a wall for learners. When you have a group needing to publicly post work, you don’t want the slow process of handing out single pieces of tape from one person to the next. Prepare enough tape on the blank wall where they will hang their work so it there when they are ready to post their work. In the best case, the tape is spread around so that all they have to do is push their paper on the tape and it is ready to view.
- Have more than one roll of tape in the room. You many not need to use it all, but having multiple rolls allows multiple individuals to access or distribute it when needed.
- Stick tape to the back, not the front, of visuals. This will help preserve your visuals longer, and minimize the possibilities of tearing or wrinkling when taking the tape off during clean up. Although it can be easier to tape to the front of visuals, especially when you are in a rush, you will be more likely to re-use your visuals if they are not torn.
OTHER OPTIONS
- Ask learners to hold them up. Whether sitting or standing, having an entire group hold up an image, word, drawing, or statement can be powerful. You many not want them on the wall, and this short-term sharing is enough. A great technique for this is A Picture is Worth a Thousand Words and Draw it Out.
- Use the floor. Whether you invite participants to share by placing on the floor or you invite them to engage here, it can be an interesting change of surface and perspective with no need for permanence. A great technique for this is Puzzle it Out.
What tip do you have for using tape?
Jeanette Romkema is a GLP Senior Partner and Co-owner.
Read more blogs by Jeanette.
Here are some resources for further reading: