

Jun 25, 2025

A great joy for me is knowing I will have access to a large blank wall in a training room during a multi-day training or gathering. What emerges from that blank wall is always surprising and often magical. With an intentional design in-hand, I walk a group back and forth from their tables to that space to add thoughts, move around ideas, build connections, and show interconnections and relationships with what is there. This common place to deconstruct and construct, play and illustrate, question and problem-solve offers something for all types of learners. As well, it starts to take on a life of its own, with people standing in front of it in dialogue during breaks and it being referenced over dinner and long after the event.
Some tips for success:
- Ensure there is a large wall in the room you can use. Sometimes having a room that would normally be oversized for your group is worth using, just so you have a great wall to work on.
- Ensure all that is posted can remain on the walls for the duration of the event. There is nothing worse than finding all your visuals laying on the floor or in the trash on Day 2 of an event. Yup, that has happened to me! Adding a large sign “PLEASE DO NOT TOUCH” is sometimes advised.
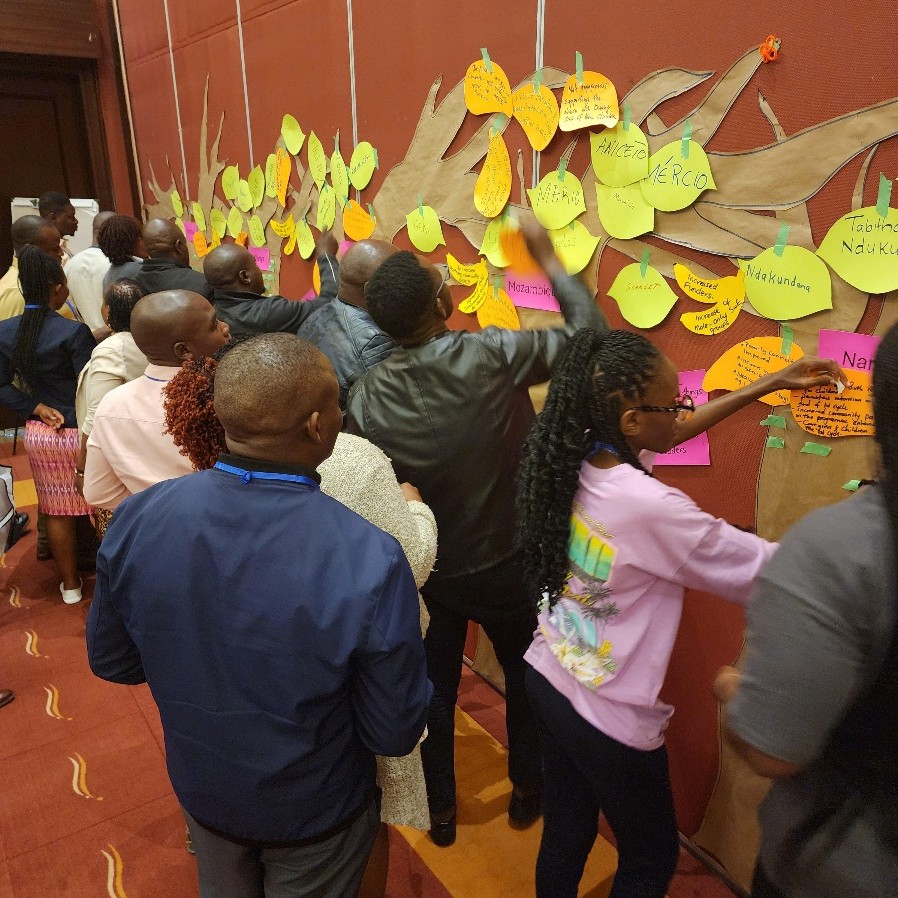
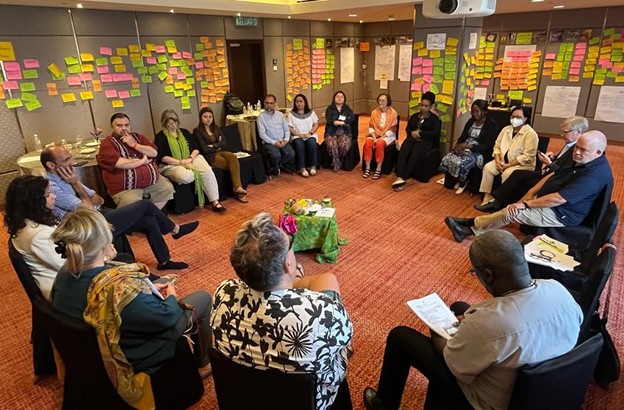
- Decide on the best way to post the ideas so they stay secure. I once arrive the day before my 5-day event to set up only to find out that the big, beautiful wall we planned to use for our forest metaphor (see image), was made of thick fabric. No tape would stick to it and we ended up using many boxes of straight pins to secure the hundreds of roots, leaves, flowers, and fruit to signify the complex multi-country program represented in the room.
- Use thick paper. Card stock is the best when possible because it doesn’t curl. It will stay flat and remain in good condition over a multi-day event.
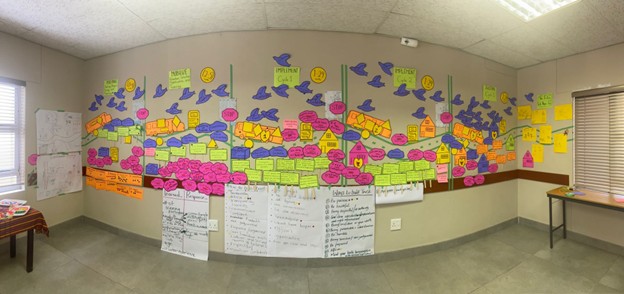
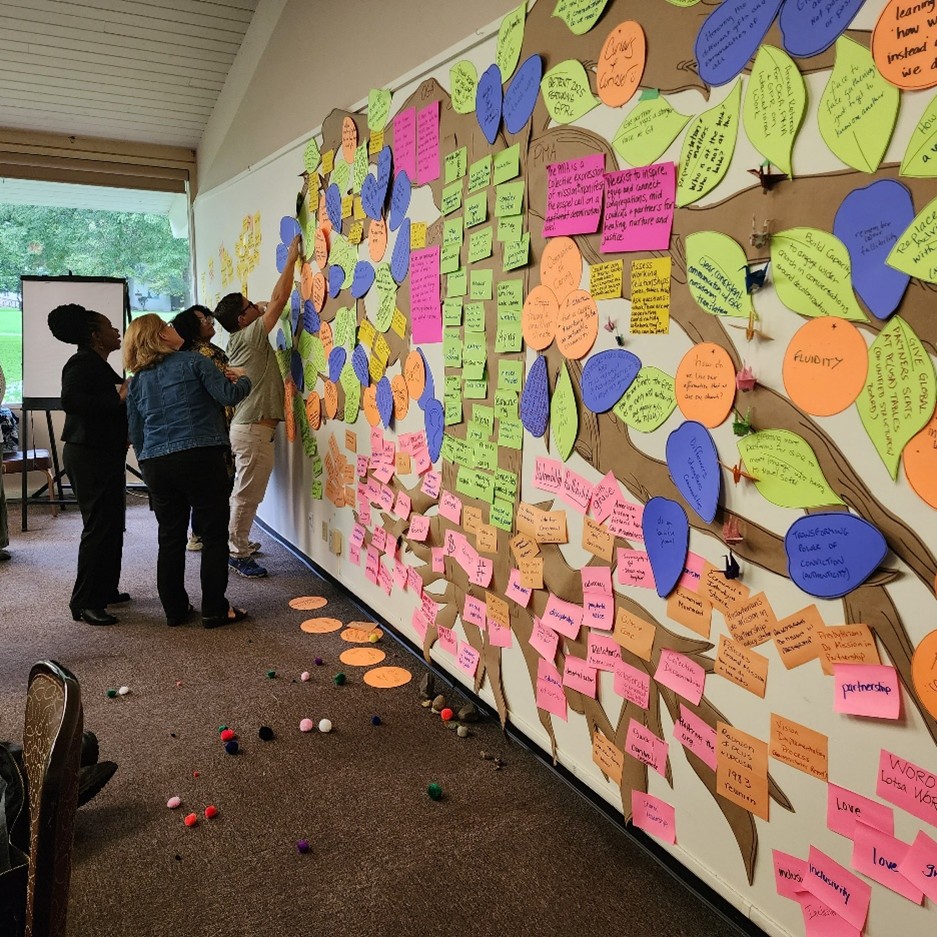
- Use colour when possible. Not only does this make for a beautiful wall (and room), it helps to differentiate the various elements represented. When the colour choice makes sense for the object it depicts, it is helpful (see photos).
- Use a metaphor. Metaphor can help simplify complex thinking or work and help understanding. For example, when facilitating a 5-day event for a 5-year project, we used a bus (see image). Each day of the event and each phase of the project was represented with different people getting on and off the bus (symbolized in shapes). There were road signs (milestones), flowers (tips), rocks (challenges), and birds (principles). The metaphor and visual we co-created helped to clarify the complexity.
- Be prepared. This way of working takes time: time to prepare the pieces, and time to prepare the room before Day One. Depending on the number of pieces in your visual and how much you like to cut paper… you may want to invite help.
- Mix mediums. Although I love coloured card stock, adding drawings, magazine images, pipe cleaner sculptures, and such, offer lovely dimensions to the visual representation. Each element is part of a carefully crafted learning design and needs to be carefully sequenced.
Additional ideas to consider:
- Maintain your walls. At the end of every day, check that things are securely fastened to the wall. Come early to the room each day to see what has fallen on the floor or is no longer straight.
- Co-facilitate. Depending on the complexity of the metaphor and your plans for the wall, having an extra set of hands can be helpful.
- Take photographs. You are going to want to record your final product – it will be complex, beautiful and hold much meaning. I always take photos throughout the creative journey in case information falls off or is covered when you need to transcribe what is there.
- Give clear instructions. This will most likely be new for many people in the room. They will need to know exactly what you are hoping for to feel able to do what is asked i.e., “Take 2-3 yellow mangos and write some of the fruits/impact of the work you have been doing this year – 1 idea per mango in large letters.”
- Share the journey. If you have a WhatsApp group, share the progress daily. It is fun to watch the evolution, and it can help make participants curious about the next day, “I wonder what we will add tomorrow?”
A word of caution:
- Make sure everything you do is purposeful. If learners can see why we are doing it and it is helpful for their learning and work, you can get a group to do amazing things!
- Consider transcribing at the end of the last day. It is normal to want to pack everything up and write the report later. However, in some cases it is wise to have one person read the wall, and one person type it up before you go home. A co-created timeline is perfect example of this – you will never be able to know where all the pieces were if you pile them up and transcribe later.
Using a wall as my canvas help me engage everyone in the room so we co-create something of deep meaning for all who are present. This goes way beyond a PowerPoint presentation. This invites all participants in and honours them for who are and what they bring to the event. It says, “Together we are better. We need everyone here to be part of this to really see and understand the full picture.”
Share a photo of a finished wall from a gathering or learning event you facilitate!
Jeanette Romkema is a GLP Senior Partner and Co-owner.
Read more blogs by Jeanette.
Here are some resources for further reading: